
How to Cycle a New Aquarium the Right Way
Cycling your aquarium isn't just a suggestion—it's the non-negotiable first step to creating a healthy, stable home for your fish.
Your First Step to a Thriving Aquarium
So, you've got a new tank. It's exciting, I know! But before you even think about adding fish, you have to establish its biological filter. The best way to think about it is building an invisible, living waste-management system that keeps your future pets safe.
This whole process is called the nitrogen cycle, and honestly, getting it right is the foundation of successful fishkeeping.
The concept is pretty simple when you break it down. Fish produce waste, which releases toxic ammonia (NH₃) into the water. If that ammonia builds up, it will quickly harm or kill your fish. This is where our invisible helpers come in. A colony of beneficial bacteria naturally develops to solve this very problem.
It's a two-part process:
- First, one group of bacteria (Nitrosomonas) shows up to eat the dangerous ammonia.
- Their waste product, however, is nitrite (NO₂), which is also highly toxic to fish.
- Then, a second group of bacteria (Nitrobacter) arrives and starts consuming the nitrite.
- Finally, this second group converts the toxic nitrite into much less harmful nitrate (NO₃).
This entire sequence is what we mean when we say we're "cycling" a tank. Your job is to patiently grow these two bacterial colonies until they're strong enough to handle the waste your future fish will produce.
The Timeline and What to Expect
Patience is probably the most important tool you have when cycling a new aquarium. This biological process doesn't happen overnight. For most new freshwater tanks, you can expect the nitrogen cycle to be fully established in anywhere from 2 to 8 weeks.
Several things can speed this up or slow it down, like your water temperature and pH. You can find a deeper dive into how those parameters affect the cycle in this guide from Freshwater Systems. The process is only finished when your water tests show zero ammonia and zero nitrite, but you can see a measurable level of nitrates.
Pro Tip: I always recommend keeping the aquarium lights off during the initial cycle. Without any plants to use it, all that light just encourages algae to grow, giving you an extra cleanup job before you've even added fish.
During this waiting game, your water chemistry will go through some predictable spikes. First, you'll watch ammonia levels rise and then fall. Right after that, you'll see nitrite levels spike and then drop back to zero. The final, tell-tale sign of a successful cycle is the appearance and steady rise of nitrates. Don't worry, we'll cover exactly how to track all of this in the next sections.
Getting Your Cycling Gear Together

Before a single drop of water goes into that new tank, let's talk about gear. Getting your hands on the right tools from the start can be the difference between a smooth, successful cycle and weeks of frustration. It’s not just about the tank and filter; it's about having the specific equipment needed to see and guide the biological process. Think of it as setting up your workshop—the right tools make all the difference.
The single most important item you'll buy is a reliable liquid water test kit. Yes, test strips exist, but I can't recommend them for cycling. You need accuracy when you're measuring things like ammonia, and liquid kits are far more precise. Make absolutely sure your kit measures the big three: ammonia, nitrite, and nitrate. These readings are your only window into what's happening in the water, telling you exactly where you are in the cycle.
An aquarium heater is another non-negotiable, even if your house is warm. The beneficial bacteria you're trying to cultivate thrive in warmer temperatures, ideally between 75-80°F (24-27°C). Keeping the water in this range can literally shave weeks off your cycle time. It's a small investment for a much faster result.
Setting Up the Tank
With your core gear ready, it's time to lay the foundation.
First up is the substrate, whether you've chosen sand, gravel, or a specialized aqua soil. Whatever you picked, it needs a good rinse. Substrates are notoriously dusty, and skipping this step will turn your new tank into a cloudy mess. The easiest way is to put small batches in a bucket and run water through it, swirling it with your hand until the water finally runs clear. It’s a bit tedious, but trust me, you’ll be glad you did it.
Once your clean substrate is in, you can install the hardware. Go ahead and place your filter and heater according to the manufacturer's directions, but don’t plug anything in yet. Now is also the perfect time to arrange your hardscape, like driftwood or rocks. It’s a lot easier to get the layout just right before the tank is full of water.
A Quick Tip: I always place a small, clean plate or a piece of a plastic bag on the substrate before adding water. Pouring the water onto that surface stops it from digging into the substrate and kicking up a huge cloud.
The Final Steps Before the Cycle Begins
Alright, time to fill 'er up. As the water goes in, be ready with a high-quality water conditioner. This is an absolutely critical step. Tap water is treated with chlorine and chloramine to make it safe for us to drink, but those same chemicals will kill the very bacteria you're trying to grow. A good conditioner makes them harmless almost instantly. Always dose for the full volume of the tank, not just for the amount of new water you're adding.
With the tank full, you can finally turn on your filter and heater. I like to let everything run for a full 24 hours before doing anything else. This gives the temperature time to stabilize and lets any lingering dust settle. It’s also your chance to double-check that all the equipment is working properly, with no surprise leaks or weird noises.
Your pre-cycle checklist should look something like this:
- A Liquid Test Kit: To accurately track ammonia, nitrite, and nitrate levels. This is your dashboard.
- An Aquarium Heater: To keep the temperature stable and warm, speeding up bacterial growth.
- A Quality Water Conditioner: To instantly neutralize chlorine and chloramine from tap water.
- An Ammonia Source: This is what "feeds" the cycle. We’ll get into the specifics in the next section, but this could be pure liquid ammonia or even a pinch of fish food.
Your tank is now set up, the water is treated, and your testing gear is on standby. You’ve successfully built the stage. Now, it's time for the main act: adding an ammonia source to kick off the fascinating process of building your aquarium's living filter.
Running a Fishless Cycle From Start to Finish
This is, hands down, the most humane and reliable way to get a new aquarium ready for fish. A fishless cycle builds up a powerful biological filter before any animals are introduced, meaning no fish are ever exposed to toxic ammonia or nitrite. The whole idea is to manually add an ammonia source to the tank and let nature work its magic while you monitor the chemistry. It takes the guesswork out of the equation and ensures a safe, stable home for your fish from day one.
Think of it this way: you're feeding the invisible bacterial allies you want to cultivate. Your mission is to add a source of ammonia and keep it present, giving the two types of beneficial bacteria the food they need to move in and get to work.
Picking and Dosing Your Ammonia Source
First things first, you need to introduce ammonia into the water. There are a few tried-and-true methods that aquarists swear by.
- Pure Liquid Ammonia: This is my preferred method because it’s so direct and precise. You’ll want to find pure ammonia—check the label to make sure it contains no soaps, surfactants, or perfumes. A few drops are often all it takes to get started. You're aiming to raise the ammonia level in your tank to between 2.0 and 4.0 ppm (parts per million).
- Fish Food: A much simpler, though less exact, approach is to just add a tiny pinch of fish flakes or a couple of pellets. As the food breaks down, it releases ammonia. You just have to remember to sprinkle a small amount in every day or so to keep the process going.
- A Raw Shrimp: Some hobbyists like to drop a single raw shrimp (the kind from the grocery store) into a mesh media bag and let it decay in the tank. This acts as a slow-release ammonia source, providing a steady supply over a longer period.
After you've added your ammonia, give it about an hour to circulate, then test the water with your liquid test kit. If the reading is below 2.0 ppm, add a little more. If you've overshot and it's above 4.0 ppm, just do a small water change to dilute it. For the next few weeks, your main job is simply to maintain that 2.0-4.0 ppm ammonia level.
Pro Tip: I highly recommend starting a small journal or a spreadsheet to log your test results. Jotting down the date alongside your ammonia, nitrite, and nitrate readings gives you a crystal-clear picture of your progress. It makes it so much easier to see when the cycle is shifting into the next phase.
Watching the Toxins Rise and Fall
Now the waiting game really begins. But this isn't a passive wait—you're an active observer, testing your water every day or two to watch the nitrogen cycle unfold in real time.
The whole journey usually takes about 2 to 6 weeks and rolls out in a few distinct phases. You can find more details on this timeline over at CO2Art.us, but here’s the gist.
For the first week or so, you'll just see ammonia. This is normal. Then, you'll notice the ammonia level starting to drop. This is your first victory! It means the first type of bacteria (Nitrosomonas) has arrived and is eating the ammonia.
As the ammonia disappears, you'll see a brand new reading pop up on your tests: nitrite. This is the second phase, and it’s a fantastic sign that things are moving along perfectly. The appearance of nitrite means the second type of bacteria (Nitrobacter) is starting to colonize, ready to consume its new food source.
This infographic lays out the simple, three-stage process perfectly, showing how one compound converts into the next.
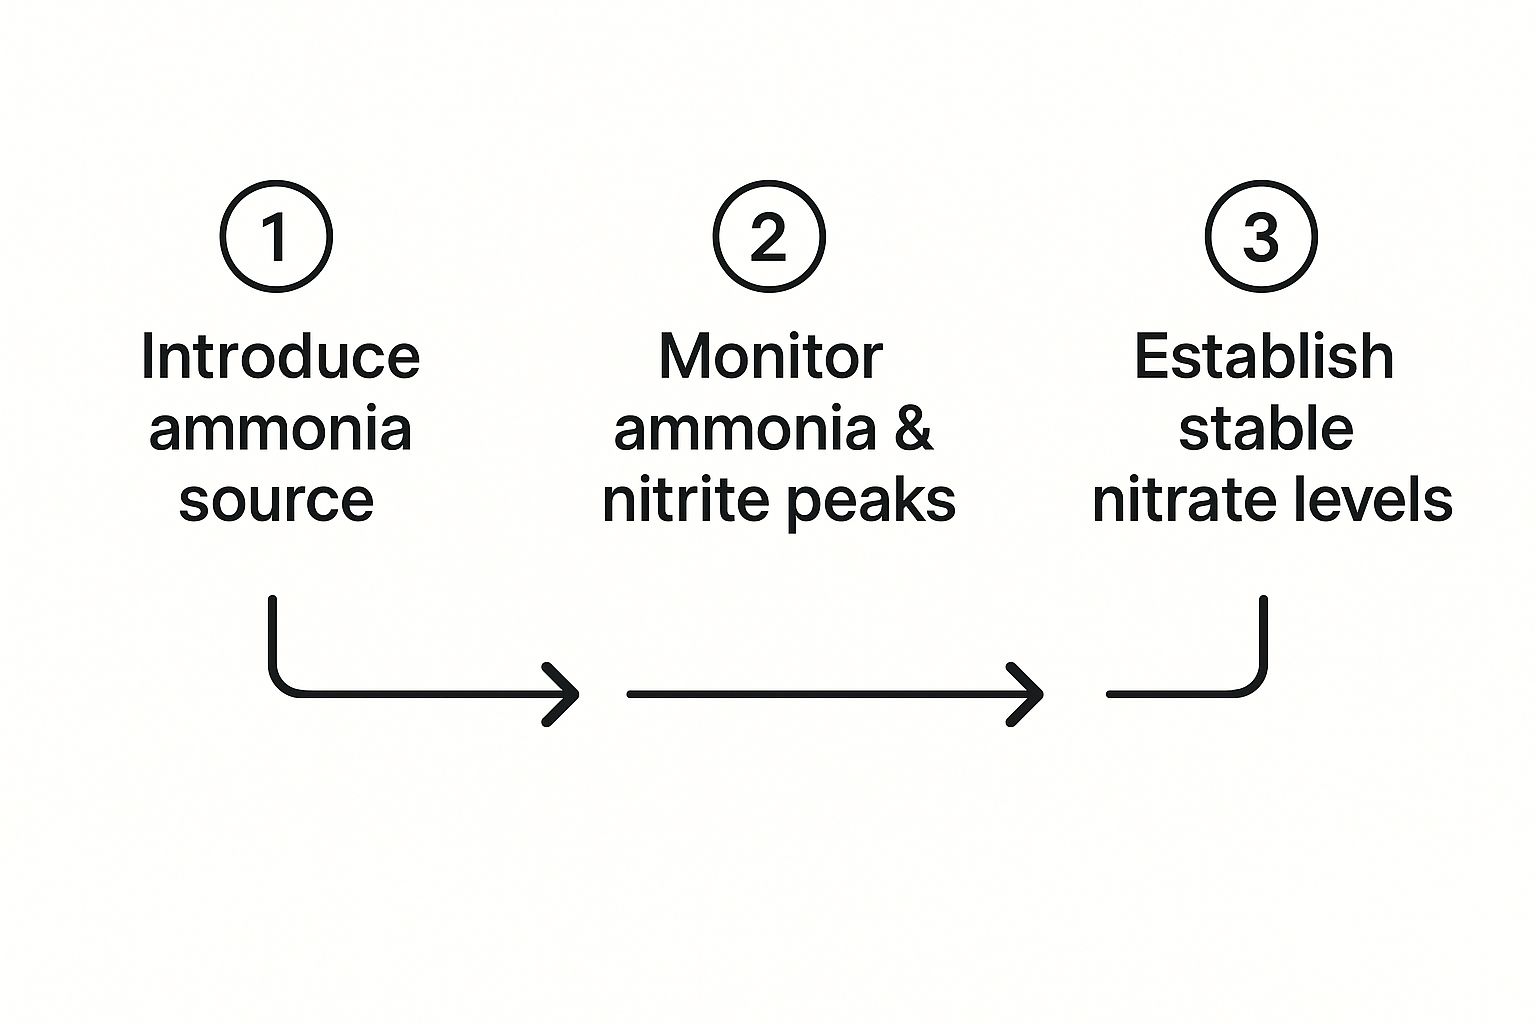
You can see how the initial waste source kicks everything off, leading to a fully mature and stable biofilter.
Crossing the Finish Line
This final stage is what all your patience has been for. As the Nitrobacter colony gets established, you'll watch your nitrite levels start to fall, eventually hitting zero. At the very same time, you'll finally see a reading for nitrates. The presence of nitrates is the definitive proof that both bacterial colonies are established and working together.
You'll know your cycle is officially complete when you can add a full dose of ammonia (up to that 2.0-4.0 ppm mark) and, within 24 hours, your test kit reads 0 ppm ammonia and 0 ppm nitrite. At this point, you'll have a measurable amount of nitrates.
Before you even think about adding fish, do one last large water change—somewhere around 50-80% is good. This is to bring those accumulated nitrates down to a safe level, ideally below 20 ppm.
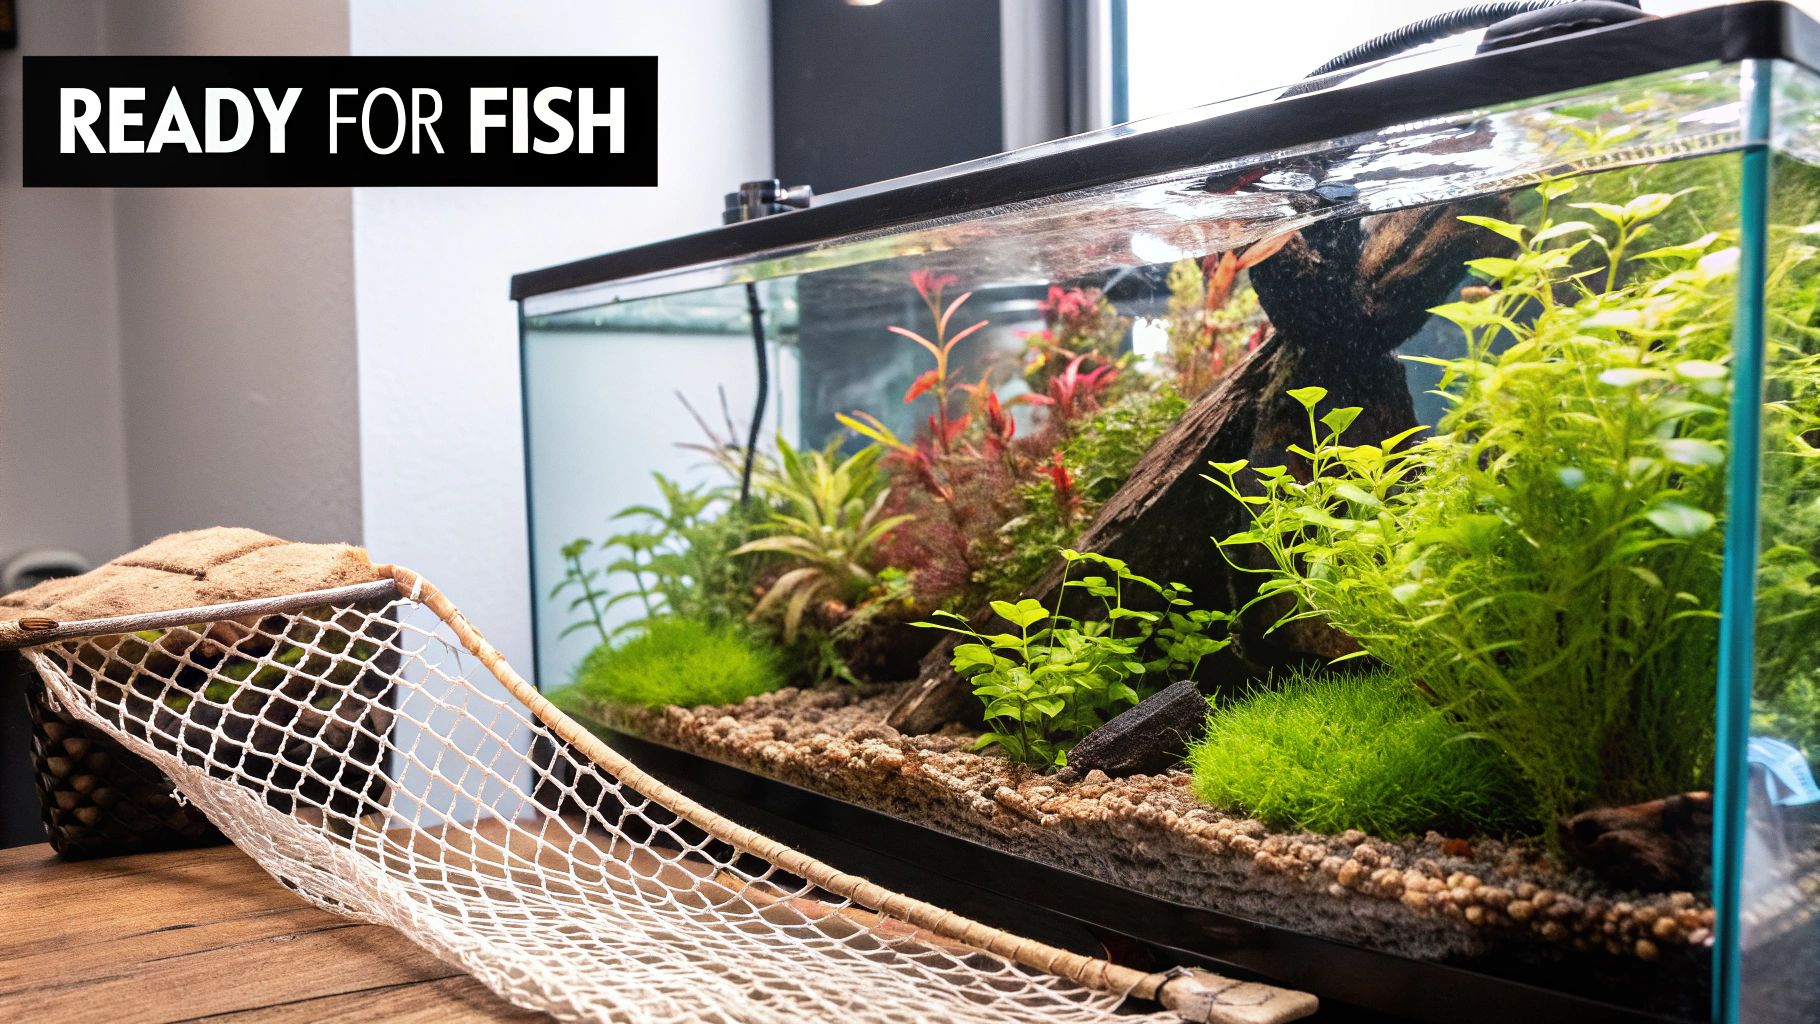
Once that’s done, you can finally celebrate. Your aquarium is cycled, stable, and ready to safely welcome its first residents.
How to Safely Speed Up Your Aquarium Cycle
Patience is a virtue in fishkeeping, but let's be honest—sometimes you just want to get your new tank up and running. The good news is you can give your aquarium a biological head start without cutting corners. These methods all share one goal: to introduce a massive, pre-existing colony of beneficial bacteria right into your new setup.
Instead of waiting weeks for bacteria to find your tank and slowly colonize it, you're essentially transplanting a ready-made biological filter. This jump-starts the nitrogen cycle and can dramatically shorten the time it takes to see those ammonia and nitrite levels finally hit zero.
Use "Seeded" Media from an Established Tank
This is the gold standard for a reason: it's the single most effective way to speed up a cycle. Seeded media is just a fancy term for any part of a filter—a grimy sponge, some ceramic rings, or a bag of bio-balls—that comes from a healthy, mature aquarium. This stuff is already covered in the exact bacteria you need.
The process is incredibly simple:
- Get the goods: Ask a friend with a healthy tank for a piece of their filter media. You can also run a second small filter on one of your own established tanks for a few weeks to "seed" it yourself.
- Make the swap: Place this seeded media directly into your new tank's filter. If you have a hang-on-back, you can often just squeeze it in next to the new filter cartridge. For canister filters, just pop it into one of the media trays.
The Golden Rule: Never, ever let the seeded media dry out or touch untreated tap water. The bacteria are living organisms. If they dry out, they die, and all your effort was for nothing. The trip from the old tank to the new one should be as quick and wet as possible.
Once it's in place, this transplanted bacteria colony gets right to work. You'll still need to do a fishless cycle by adding an ammonia source, but you should see those toxin levels drop in a fraction of the usual time.
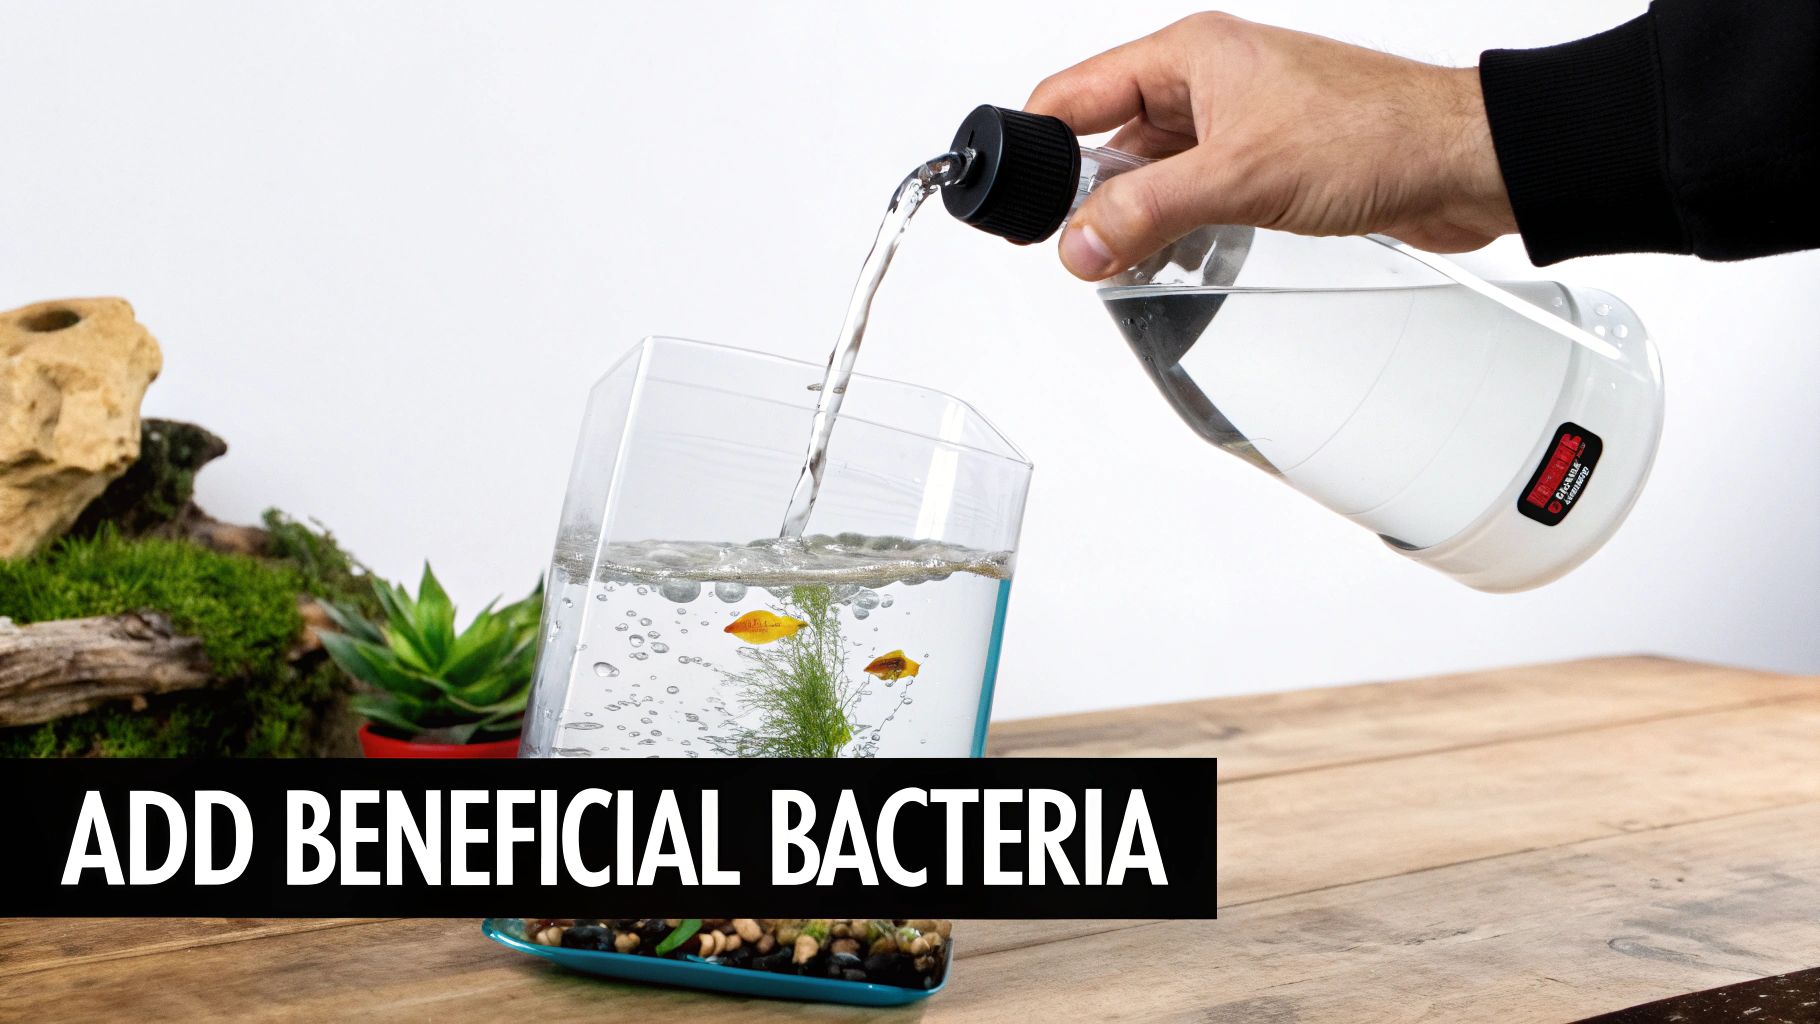
Add a High-Quality Bottled Bacteria
If you can't get your hands on seeded media, a good bottled bacteria product is the next best thing. The market is absolutely flooded with these, and frankly, many of them are duds. Some contain the wrong kind of bacteria or are basically dead on the shelf.
My advice? Don't cheap out. For a new tank, it’s worth spending a few extra bucks on a reputable brand known for its live, active cultures. Look for products that specifically mention nitrifying bacteria like Nitrosomonas and Nitrobacter.
Using them is easy—just follow the dosage on the bottle. I always pour it directly into my filter compartment to give the bacteria a prime spot to settle. Just remember, they need food to survive, so you still have to dose ammonia.
Crank Up the Heat
Here’s a trick that many new hobbyists overlook: temperature. The bacteria you’re trying to grow are surprisingly sensitive to it. They’ll grow in cool water, sure, but their metabolism—and their ability to multiply—slows to a crawl.
Temperature really can be a game-changer. These nitrifying bacteria hit their peak growth and activity somewhere between 86°F and 95°F. While that's far too hot for fish, it's perfect for a fishless cycle.
I often set the heater to around 86°F (30°C) just for the cycling period. This one simple adjustment can shave a significant amount of time off the process. Once your cycle is complete and you're reading zero ammonia and zero nitrite, just slowly lower the temperature back down to the right level for your fish before you add them. You can read up on the science behind these temperature effects from the Aquatic Creations Group to get a deeper understanding.
By combining these methods—especially using seeded media and bumping the heat—you can reliably cut your cycling time from a month or more down to as little as one or two weeks.
Troubleshooting Common Cycling Problems
Even when you follow the instructions to a T, the nitrogen cycle can throw you a curveball. It’s a completely normal part of the process. You might find yourself staring at your test kit for days, seeing the same high ammonia reading and wondering if you’ve done something wrong.
Trust me, this is a rite of passage for almost every fishkeeper. Don't get discouraged. Most of the time, a stalled cycle has a simple cause and an even simpler fix. You just have to put on your detective hat and let the water parameters guide you.
"My Cycle Seems Stuck! What's Going On?"
This is hands-down the most common frustration I hear about. A "stalled" cycle is when your ammonia or nitrite levels just sit there, stubbornly high, for a week or more. It feels like you’ve hit a wall.
Before you consider tearing everything down and starting over, let's look at the usual suspects.
- Not Enough Ammonia: Your beneficial bacteria are living things, and they need to eat. If you're using fish food, it might not be breaking down fast enough to produce a steady supply of ammonia. If you're using pure ammonia, you have to remember to "re-dose" it once the bacteria consume it. No food, no growth.
- Too Much Ammonia: It sounds counterintuitive, but you can have too much of a good thing. Ammonia levels skyrocketing above 5.0 ppm can actually be toxic to the very bacteria you're trying to cultivate, effectively poisoning them and stopping the cycle cold.
- Incorrect pH: This is the silent cycle-killer. Nitrifying bacteria thrive in a pH range between 7.0 and 8.0. If your water is too acidic (with a pH below 6.5), the bacteria don't die, but they go dormant. They essentially stop working until conditions improve.
A Real-World Scenario: I once had a cycle stall for two solid weeks with ammonia locked at 2.0 ppm. I was stumped. After re-checking everything, I finally tested my pH and discovered it had crashed to 6.2. I did a small water change with properly buffered water, which nudged the pH back to 7.4. Within 48 hours, the ammonia level finally started to drop.
The solution is usually straightforward. Is ammonia too low? Add a bit more. Is it way too high? Do a partial water change. Is the pH out of whack? Adjust it slowly to get things back on track.
Common Cycling Issues and Solutions
Navigating the cycling process can feel like a guessing game at times. To help you quickly diagnose and address problems, here’s a table outlining the most frequent issues aquarists encounter.
| Problem | Potential Cause | Recommended Action |
|---|---|---|
| Ammonia or Nitrite Stuck | pH is too low (below 6.5) or ammonia is too high (above 5.0 ppm). Also could be an inconsistent ammonia source. | Test and adjust pH to 7.0-8.0. If ammonia is too high, do a water change to dilute it. Ensure a steady ammonia source. |
| Milky/Cloudy Water | A bloom of heterotrophic bacteria, which feed on excess organic waste (like too much fish food). | This is normal! Be patient and wait it out. It almost always clears on its own in 3-7 days. Avoid water changes. |
| Green Water | An algae bloom, usually caused by a combination of unstable nutrients and too much light. | Reduce your lighting schedule significantly or turn the lights off entirely until the cycle is complete. |
| Brown Film (Diatoms) | Very common in new tanks due to an abundance of silicates in the water and sand. | This is "New Tank Syndrome." It's harmless and will disappear on its own as the tank matures. You can wipe it off if it bothers you. |
Remember, patience is your best tool. Most of these "problems" are just natural stages of a new aquarium finding its equilibrium.
"Oops, I Added Way Too Much Ammonia!"
It happens to the best of us. A moment of distraction, a heavy-handed pour, and suddenly your test tube is the darkest shade of blue you've ever seen. You've just dosed your ammonia well past the 5.0 ppm danger zone.
Don't panic! The fix is simple: dilution.
- Confirm the Level: Test your water to get a clear idea of just how high the ammonia is.
- Perform a Water Change: A large water change—think 50-75%—is your best friend here. Use dechlorinated water at the right temperature. This will instantly slash the ammonia concentration.
- Test Again: After you've refilled the tank, retest the ammonia. Your goal is to bring it back down to that 2.0-4.0 ppm sweet spot.
- Repeat if Needed: If one water change wasn't enough to get it into the ideal range, that’s okay. You can do another, smaller change the next day.
Correcting an overdose won't reset your cycle. The bacteria already clinging to your filter media and surfaces are still there. By quickly lowering the ammonia to a level they can handle, you're just getting them back to work. Knowing how to cycle a new aquarium is as much about fixing these little mistakes as it is about following the plan from day one.
Common Questions We Hear About Aquarium Cycling
Even after you've read all the guides, you'll probably run into a few head-scratchers while cycling your new aquarium. It happens to everyone. This is where we tackle those real-world questions that pop up when you're in the middle of the process, patiently staring at an empty tank.
Think of this as your troubleshooting guide for those "is this normal?" moments.
What Should My Water Parameters Be During the Cycle?
When you're doing a fishless cycle, you're not trying to create a fish-friendly environment just yet. Instead, you're creating the perfect conditions for bacteria to thrive.
Here’s what your test kit should be telling you:
- Ammonia: Keep this level consistently between 2.0 and 4.0 ppm. This is the "food" that kicks off the whole process. Don't let it drop to zero until the very end.
- pH: Bacteria work best when the pH is stable and slightly alkaline. A range of 7.0 to 8.0 is ideal. If it dips below 6.5, your cycle can grind to a halt.
- Temperature: Cranking up the heat a bit can really speed things along. An aquarium heater set to 80-86°F (27-30°C) encourages bacteria to colonize much faster.
Once the cycle is complete, you'll do a big water change and bring the temperature down to whatever your future fish prefer.
Do I Need to Do Water Changes While Cycling?
This is a fantastic question, and the answer is usually no. During a fishless cycle, you want to keep the ammonia and nitrite in the tank. They are essential fuel for your growing bacteria colonies. Doing water changes just removes their food source and slows everything down.
But, like most things in this hobby, there are a couple of key exceptions:
- If your ammonia or nitrite levels get too high. If ammonia spikes above 5.0 ppm or your nitrite reading goes completely off the chart, it can actually stall the cycle. When this happens, a 25-50% water change is a good idea to bring those numbers back into a productive range.
- If your pH crashes. Sometimes, the biological process can cause a significant drop in pH. If you test and find it's fallen below 6.5, a water change is needed to help buffer it back up and get the bacteria working again.
The only other time a water change is truly necessary is the big one at the very end—after your tank is cycled but before any fish go in. This is to reset your nitrate levels to a safe starting point (under 20 ppm).
Can I Add Plants to My Tank Before the Cycle Is Done?
Yes, absolutely! In fact, adding live plants right from the start is one of the best things you can do. They don’t just look great; they actively help the process.
Plants use ammonia and nitrates as fertilizer, which helps keep your water parameters from swinging too wildly. They also add a ton of extra surface area for beneficial bacteria to grow on, giving your filter a helping hand.
Just make sure to inspect and rinse any new plants to avoid introducing hitchhikers like pest snails. If you’re figuring out how to cycle a new aquarium, using live plants is a fantastic strategy.
Now that your tank is fully cycled and ready for its first inhabitants, the real fun begins. At BlueRipple Aquatics, we provide healthy, quarantined livestock to ensure your aquarium journey starts on the right foot. Explore our incredible selection of fish, shrimp, and plants to find the perfect additions for your new, stable ecosystem. Check out our collections today at https://bluerippleaquatics.com.
Article created using Outrank


